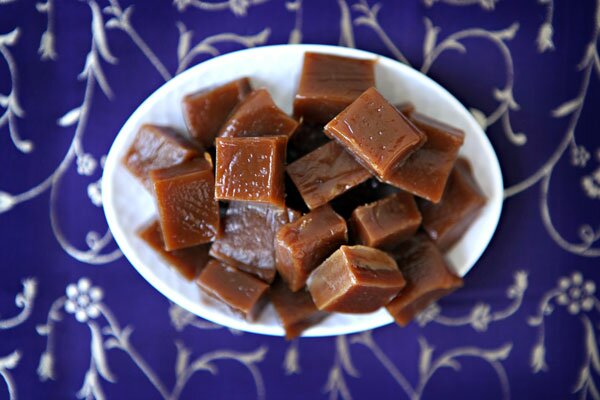
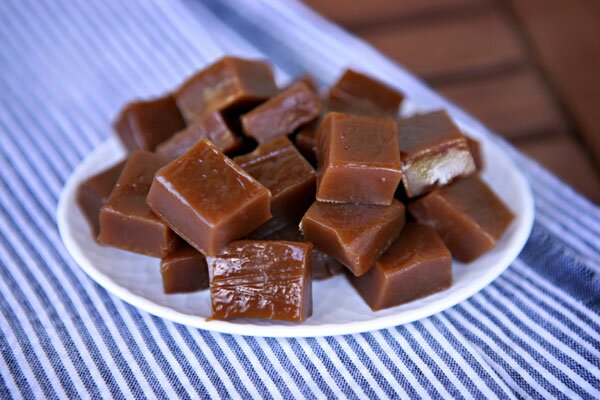
I’ve always liked to bake but as a college student, I’ve never had enough time or a kitchen to do it in. I was lucky enough to get to spend some time with Lara recently, and she allowed me free reign in her kitchen. Everything I’ve ever wanted to try passed through my mind, but these caramels seemed accessible enough to try.

I worked in libraries for a few years and my mother is a librarian, so I grew up with a love for browsing through the shelves and pulling out whatever caught my eye. I found myself drawn to the cookbooks every time I worked. In the last 5 minutes when I had finished my work, I would wander over and browse through the oldest volumes, intrigued by how much food has changed in 100 years. One of the oldest volumes was on candy-making, and I was immediately drawn in. I’d love to master it eventually. This was my first attempt!

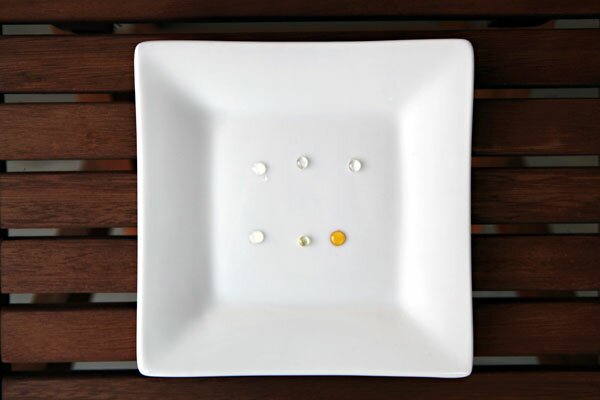
One of Judicialpeach’s tips was to drip the sugar as it began to caramelize on a white plate in order to more accurately gauge the color, so I tested it 6 times. Watching it change was a valuable experience in candy-making. The initial drip was still soft, even after cooling, whereas the others had all hardened. There isn’t much of a color difference in the first four, but the sheen changed as well as how it settled. After that you could see the sugar quickly caramelized. It’s important to watch it carefully (even though you aren’t stirring) to make sure that it doesn’t burn.

The combination of the cream with the caramelized sugar bubbled up violently and quickly heated up to the 248 degrees F that was required for these caramels. It took between 5-10 minutes after the sugar caramelized for it to effectively get up to temperature. This recipe is very easy but requires a lot of attention in order to prevent burning or hard toffee in place of these chewy caramels.

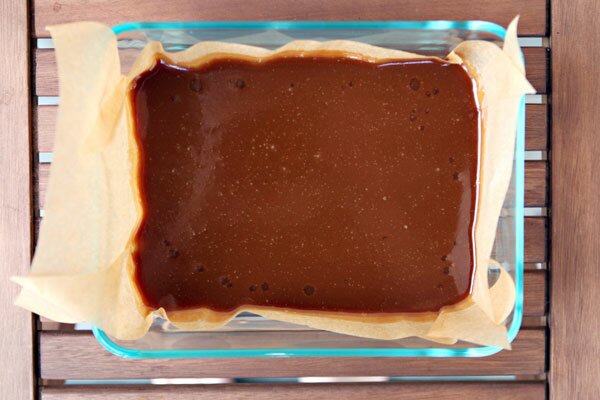
The caramelized sugar stuck to everything, but the caramel itself actually pulled right away from the pan it was made in due to its butter content, so the parchment paper wasn’t necessary. Immediately upon setting it in the glass pan it bubbled away, but quickly settled to an irresistible pan of lava. It was torture to keep out of this until it cooled, but little bits of the caramel on the end of a fork cooled quickly enough to enjoy!
HOMEMADE SEA SALT CARAMELS
PREP TIME: Requires a few hours of cooling
COOK TIME: 20 minutes
YIELD: 16 to 20 Caramels
Ingredients:
Vegetable oil
1 cup sugar
1/4 cup water
1/4 cup light corn syrup
1 cup heavy cream
4 tablespoons unsalted butter
1 teaspoon sea salt, plus extra for sprinkling
1/2 teaspoon vanilla extract
Instructions:
1. Line an 8-inch square baking pan with parchment paper. Lightly brush the paper with the vegetable oil.
2. In a small pot, bring the cream, butter, and one teaspoon of the sea salt to a simmer, over medium heat. Do not let it boil. Once it has reached a simmer, turn off the heat, and set it aside.
3. In a deep saucepan, combine the water, corn syrup, and sugar. Over medium-high heat, stir only until the sugar has dissolved. Then allow the mixture to boil, without stirring, until the mixture is a warm, golden brown. Watch very carefully, as the caramel can burn quickly toward the end. (It can be helpful to use a wooden spoon and drip some of the caramel onto a white plate to gauge the exact color).
4. When the sugar mixture is done, remove it from the heat and slowly add the cream mixture to the sugar mixture. Be careful because it will bubble up violently. Stir in the vanilla.
5. Return the mixture to the heat and cook over medium heat until a candy thermometer reads 248 degrees (firm ball), about 10 minutes. Pour the caramel into the prepared pan. (Don’t scrape the pot). Refrigerate for a few hours, until firm.
6. Remove the caramel from the refrigerator and allow it to come close to room temperature. Pry the caramel from the pan. On a cutting board, cut the square in half. Using parchment paper, roll each piece of caramel into a tight 8- to 10-inch log. Sprinkle the logs with sea salt. Cut each log into 3/4-inch or 1-inch pieces. Individually wrap each caramel in glassine or parchment paper, twisting the ends. Store in the refrigerator or in an air-tight container.
Ahh, these look so so yum. I don’t think they’d last in my house for more than the time it takes to cool them.